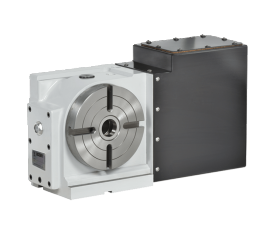
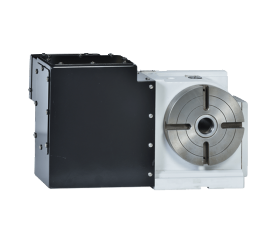
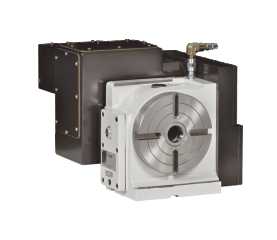
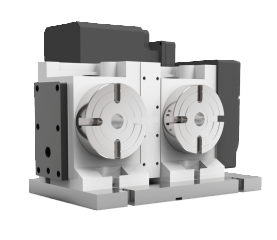
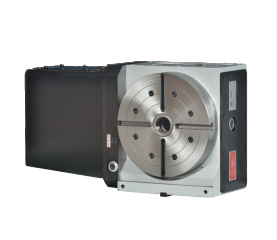
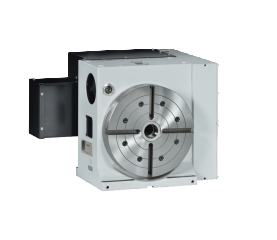
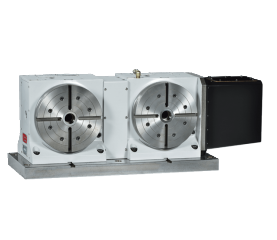
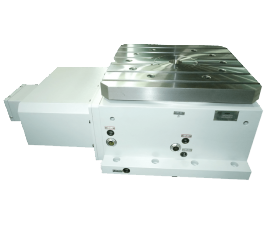
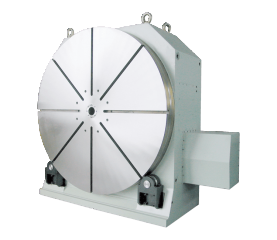
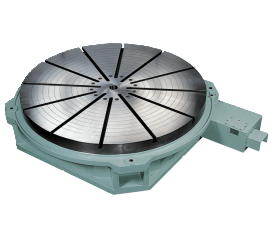
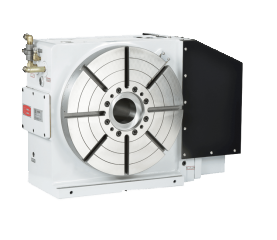
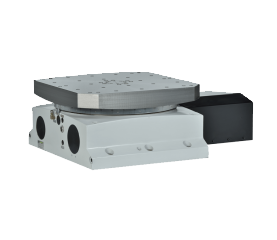
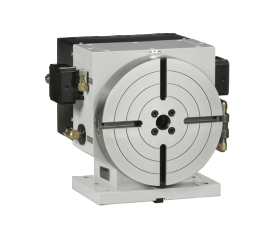
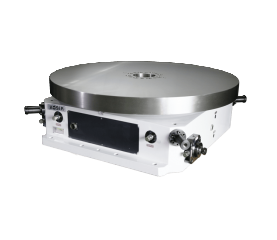
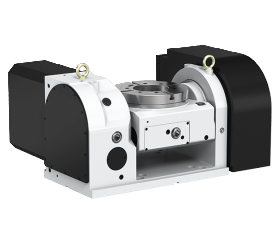
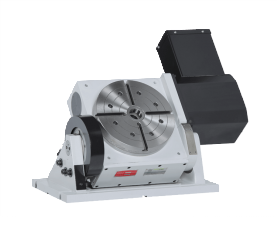
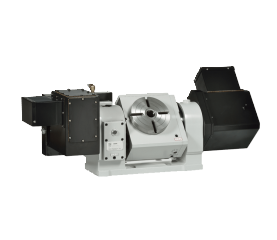
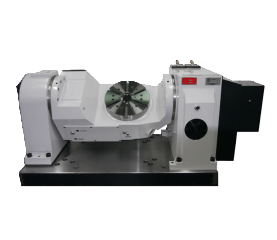
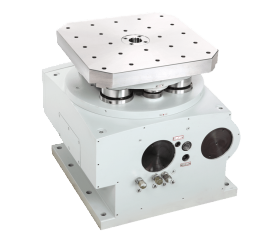
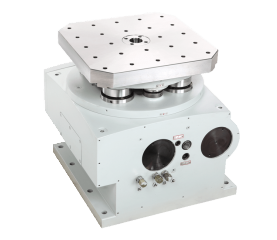
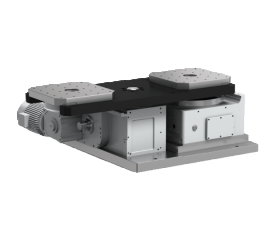
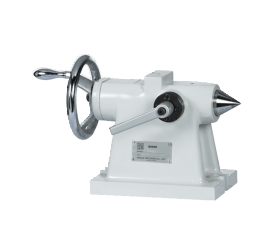
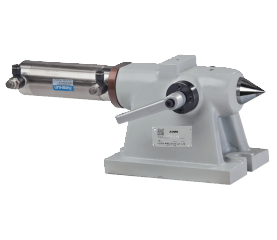
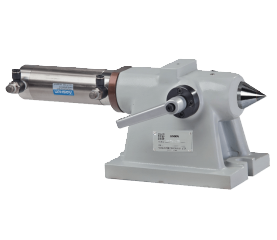
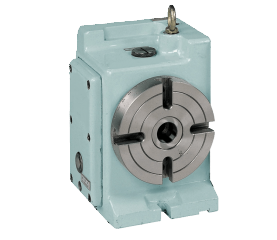
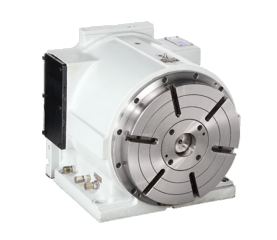
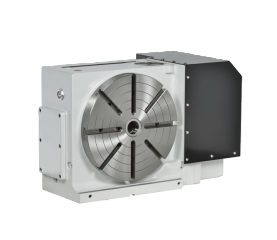
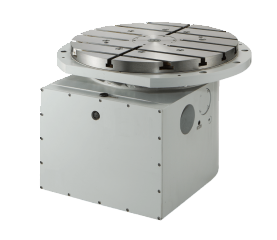
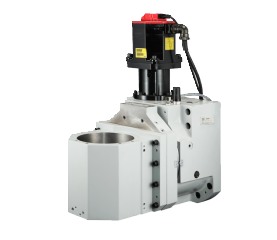
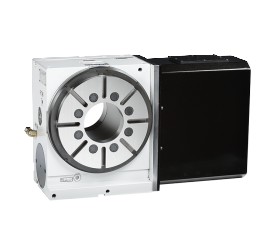
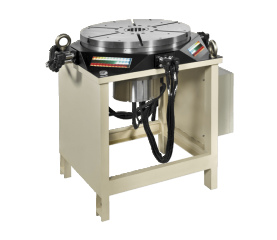
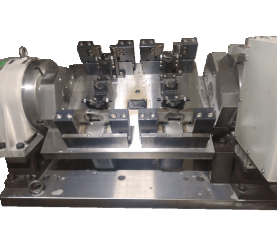
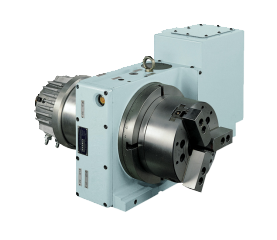
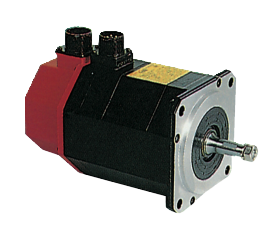
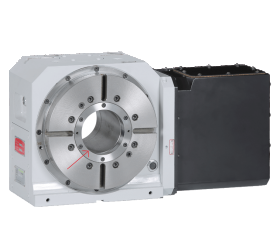
Product Description
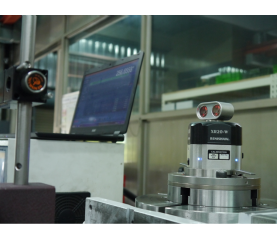
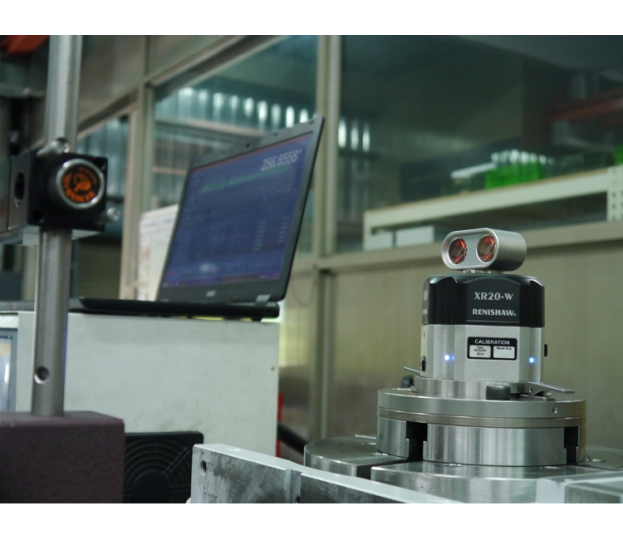
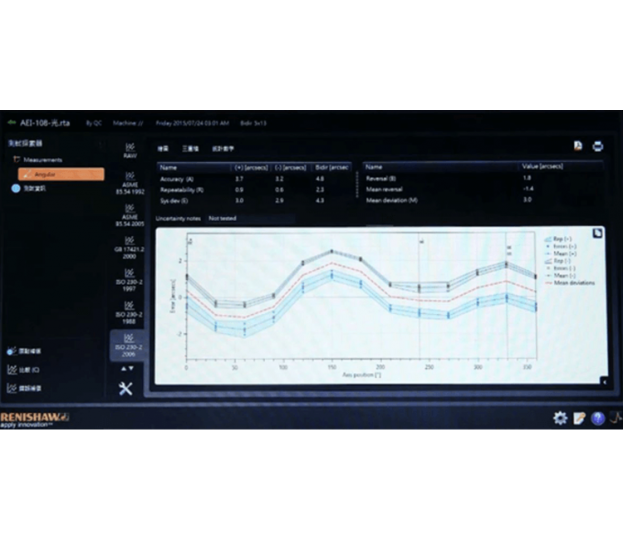
- The accuracy test results are based on ISO 230-2 standards with 5 continuous clockwise and counter-clockwise rotations.
Standard Dimension
Product
Reference
| No. | Inspection Item | 125/170/210 | 255/320 | 400 | ||||
|---|---|---|---|---|---|---|---|---|
| 1 | Runout of table center bore | Hole end | 0.01 | 0.01 | 0.01 | |||
| 2 | Squarenss of table top to guide block at table bottom | Per 300mm | 0.02 | 0.02 | 0.02 | |||
| 3 | Squareness of table top to table bottom | Per 300mm | 0.01 | 0.01 | 0.01 | |||
| 4 | Flatness of table top | Overall length | 0.02 | 0.01 | 0.02 | |||
| 5 | Runout of table top during rotation | 0.015 | 0.015 | 0.015 | ||||
| 6 | Parallelism of table top to table bottom | Overall length | 0.02 | 0.02 | 0.02 | |||
| 7 | Indexing accuracy | cumulative | 40" | 20" | 20" | 15" | 15" | |
| 8 | Height difference of both center lines of head stock and tailstock (Tailstock center line should be higher) | Per 300mm (Vert. pos.) |
0.02 | 0.02 | 0.02 | |||
| 9 | Dividing head and tailstock center height runout | 0.02 | 0.02 | 0.02 | ||||
| 10 | Run out in table center bore | At mouth pos. | 0.01 | 0.01 | 0.01 | |||
| 100 mm pos. | ||||||||

